A vibration in the steering wheel. A shaking in the driver’s seat or a pulsation in the brake pedal. No, these aren’t the start of tire shop horror stories — relax. Frequently, they’re customer complaints that often point to a common problem: tire vibration.
Around 60% of vibration-related comebacks are due to improper wheel mounting or balancing. That’s why minimizing vibration comebacks starts with the proper balancing of your customers’ tires.
Mounting and Balancing Missteps
If you are experiencing a static mounting error on the balancer, it could be a result of nicked-up cones or collets, a worn spring or shaft, or improper clamping.
Today, many alloy wheels don’t have a simple, tapered center anymore. In addition to the mating surface of the hub bore center, a wheel may have a narrow cosmetic front. With several different taper angles being used, it is critical that the cone or collet supports the wheel on the structural taper for accurate balancing. Incorrect contact can allow the wheel to move while on the balancer, giving false readings and leaving a tech chasing weights or adding more weight because the balancer asks for more, usually in different places.
Before you secure the wheel onto the balancer, perform a spin check and review your readings. If the balancer is not calling for the same weight amount in the same locations, either the wheel was not centered on the second spin or not centered on the first. Double-check your mount for repeatability. Your goal is to get your imbalance readings as close to zero as possible before adding weight.
Solving for Tire Vibration
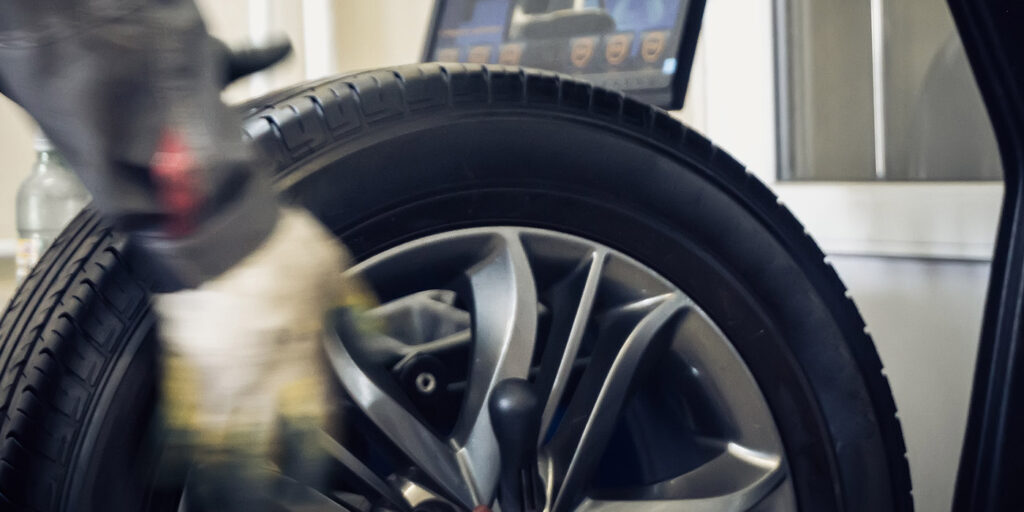
Following certain protocols and using the correct mounting accessories can prevent or fix most vibrations. First, always back-cone mount the wheel onto the balancer. “Back-coning” is when the technician uses a cone or collet on the back side of the wheel to mount the tire and wheel assembly onto the balancer. Back-coning helps properly center the wheel on the balancer, just as a bearing hub helps center the wheel on the vehicle.
When servicing many tire and wheel assemblies today, a double-sided, low-tapered collet kit is a must. When back-cone mounting the tire onto the balancer, install the spring first on the balancer shaft. Then, select a low-taper collet that fits snugly into back side of the wheel center hole. Slide the collet onto the balancer shaft, then the wheel, followed by the adjustable pin plate. Align the adjustable pin plate with the wheel lug holes, and tighten the hub nut onto the shaft.
In addition, make sure your balancer is in the right mode.
• Weight Savings: This mode calculates the best spots for weights to minimize static unbalance. However, it may leave excessive amounts of couple imbalance in the assembly. With aftermarket wheels and tires, in some cases, the negative offset and the extra weight from the assembly makes the vehicle more sensitive to couple vibrations.
• ProBalance: This mode calculates the best spots to minimize static and couple imbalance to get as close to zero as possible. In this mode, the balancer first balances the assembly dynamically, and the tech performs a spin check. If the assembly needs extra correction weight to fine-tune to zero, ProBalance automatically flags the assembly and identifies the precise weight location.
The ongoing pursuit of increased fuel economy will continue to increase vehicle sensitivity to vibration and drive the need for tighter balancing tolerances in aftermarket wheel service. Identify any vehicle that has a sensitivity issue — many will come with low-profile, high-performance assemblies — or one that has a picky driver, and make sure it’s noted on the repair order.