Body filler. Where would we be without it? This versatile putty, mud, goo, whatever your slang term, is an essential product that helps us return a crushed vehicle to its glory. Here are some best practices and tips for applying this miracle of modern science.
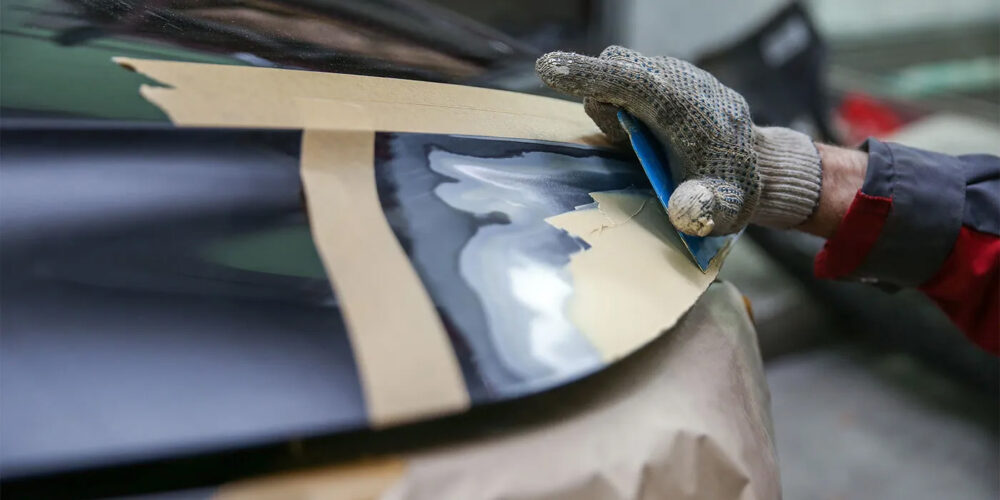
Best practices. Best practice demands that the body filler be applied directly to the substrate (the metal) — not the broken edge of the paint film. Featheredge the paint film surrounding the repair with 220- to 240-grit sandpaper on a DA sander. Plan to stretch the featheredge to about an inch per paint job — not layer of film-build but paint job. If the panel has been repaired and painted before, then feather the film to two inches, and so on and so forth. Using 320-grit paper on the DA, sand around the featheredge you just created, followed again with 400-grit paper. The goal is to create a smooth bed for the primer to lay in, with some minimal sand scratches in the surrounding area to provide purchase for the tapered edges of the primer. We do not want any primer applied over any unsanded area. Some paint manufacturers might have slightly different grit recommendations, but this process is pretty universal. A good rule of thumb regarding sandpaper grits is to not jump more than 100 when the grits are below 400 (220 to 320 is fine, but going from 220 to 400 is not). Refer to the manufacturers’ recommendations for air pressure, flash time and number of coats of primer to be sprayed. Generally, the first coat of primer will be the largest in surface area covered, followed by a slightly smaller application and finally an application that would fall directly over the filler itself; this is the outside-in method of primer application and the only good one for urethane primers.
Batching. Presuming the tech can start the process and continue without interruption, it’s not uncommon to see that tech create his or her own interruptions, such as attempting to maximize a particular operation by “batching” them together. We have all seen body techs “batch-mud,” where multiple jobs are roughed out and the body filler is mixed in bulk and applied to each job. The primary problem with this method is loss of focus and over-production. As the body filler dries, only one vehicle at a time can be worked on and proceed through the shop. Furthermore, the time it took to rough out and prep a second and even third job has taken effort away from the first job — a job that could have already been in the paint shop had the tech remained focused on it.
Cleaning. When the panel has body filler, clean as stated on the unsanded portion of the panel. On the filler itself, use only the waterborne cleaner after blowing it off, and then blow any residual cleaner dry after wiping it off. The “why” is to remove any sanding dust left by the bodyman and allow for a better inspection.
Hot weather. Some technicians under-catalyze body filler and putty to slow down work times in hot weather. However, when body filler and putty are under-catalyzed, near and long-term issues can occur. There are products on the market though that allow body shop technicians to adjust to the desired work time based on the ambient temperature without sacrificing any sanding properties of the filler.
To keep reading this article from our sister publication BodyShop Business, click HERE.